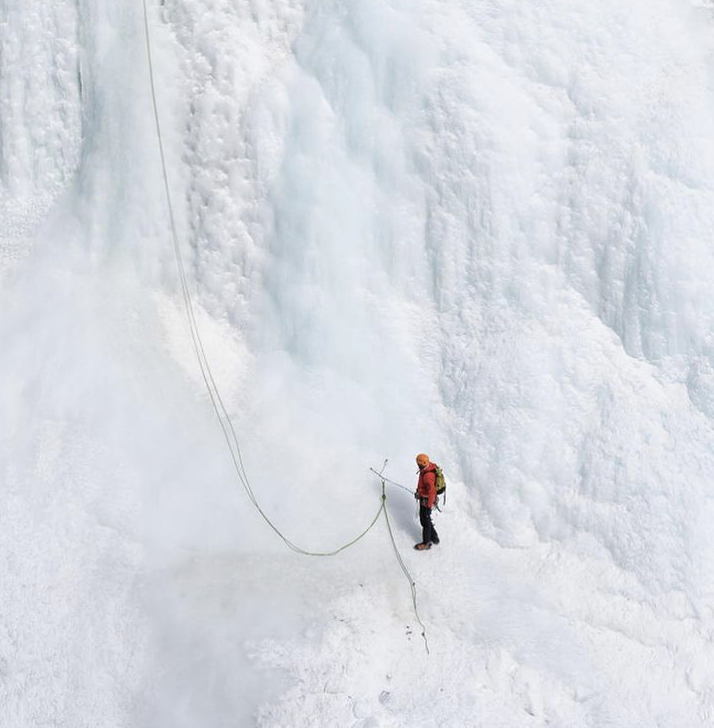
Close your rappel system with the “J loop”
image: @seanisaacguiding, instagram.com/p/CJHp9lSjKBk/
On a multi pitch rappel, the first person down can add an important safeguard to the system by tying the rope strands to the lower anchor. This is known by some as a “J loop”, because it makes a big letter “J."
To secure the rope, you have several options. A clove hitch on each strand is a good choice. Because the hitch falls apart when you remove it from the carabiner, you don't have to remember to untie yet another knot. An overhand on a bight / BHK tied in both strands is also effective, because if you forget to untie it, you have a closed loop.
Avoid tying a separate bight knot in each strand. Why? Because it's all too easy to forget to untie it, start pulling the rope, and then realize too late that you have a knot above you, big problem!
On a traversing rappel, you need to be VERY careful to always control the ends of the rope. Using J loop can help you avoid the potentially very serious problem shown in the diagram below.
IMAGE CREDIT: ANDY KIRKPATRICK
How does the J loop help reduce your risk?
Your partner can’t rappel off the ends of the rope, because it's tied to the anchor.
It makes it much less likely that the ends of the rope can swing or blow potentially out of your reach after your second arrives and goes off rappel, which could be a VERY serious problem if the rappel is traversing, overhanging, windy, or some combination of these.
It makes it much more likely that the first person down will remember to untie the stopper knots in the end of the rope. (After the J loop is tied, the stopper knots are no longer needed.)
In a traversing or overhanging rappel, the J loop helps guide your partner more smoothly into the anchor.
Finally, in the extremely unlikely catastrophe of the top rappel anchor failing, all may not be lost, because the rope is tied to the lower anchor.
Here's a nice diagram from Petzl showing the method. Note the BHK / overhand knot in both strands, and the end of purple, the pull rope, already threaded through the anchor master point. (The purple rope does not yet have a stopper knot in the end of it, that's the next step.)
image: https://www.petzl.com/US/en/Sport/Rappelling
For the first rappeller, the step-by-step procedure might look something like this. (This is one of several sequences that can work, not the only way.)
First person descending rigs for a standard rappel: using both strands of the rope, a stopper knot in each end of the rope, and an autoblock backup.
First rappeler arrives at the lower anchor. Clip tether to anchor. Keep your rappel device and auto block on the rope for now.
Feed 2-3 arm lengths of slack through your rappel device and auto block so your partner can get started.
Yell “off rappel”.
Optional but recommended: test pull. If your partner is not pre-rigged, do a test pull of the rope by pulling down a few meters on the pull strand to be sure it moves properly. Your partner above can answer this silent signal by pulling the rope back up. Be sure you have discussed this beforehand, so your partner up top knows what your test pull means, otherwise they might have a mild freak out. (If your partner is pre-rigged, you can’t do this step, because their auto block holds the rope in place.) If communication is difficult, note that the test pull can be a good non-verbal signal that you’re off rappel.
Tie a clove hitch in each strand and clip it with a locker onto some strong component of the anchor. Leave about 2 meters of slack to form the “J”. This slack allows you to do a test pull, and gives the second enough rope to descend.
Sweet, the rope is now secure in a J loop. Give yourself a high five. =^)
Untie the stopper knots in the end of each rope strand; you don't need them anymore.
Your smoking hot rappel device has now cooled off. Remove the rope from your rappel device and autoblock.
Pass the “pull” strand through the anchor, and tie a stopper knot in the pull end.
Wait for your partner to arrive. If for some reason they're not using an auto block backup, you can give them a firefighter belay. If they do have an auto block, there’s no need for the firefighter belay. That gives you a little break, whew! Use it to check the weather, grab a snack/water, get out your headlamp, scope the next rappel, read the topo, etc.
Once your partner arrives and is tethered to the lower anchor, untie the clove hitches.
Have a quick systems check: Both partners safely tethered, no twists or crosses in the rope, knot removed from the strand that’s going up.
Pull the rope slowly. Keep control of the end of the “up” strand until the last moment; don't let go of it and have it swing out of reach before you have to. (If the rope gets stuck as you're starting the pull, keeping control of the “up” strand greatly increases your options to solve the problem!)


