DIY - Anchor practice board
Disclaimer - Hopefully this is blindingly obvious, but this is ONLY to be used when your feet are firmly on the ground, and NEVER for any kind of training at height! Do not use this for full body weight or rappelling!
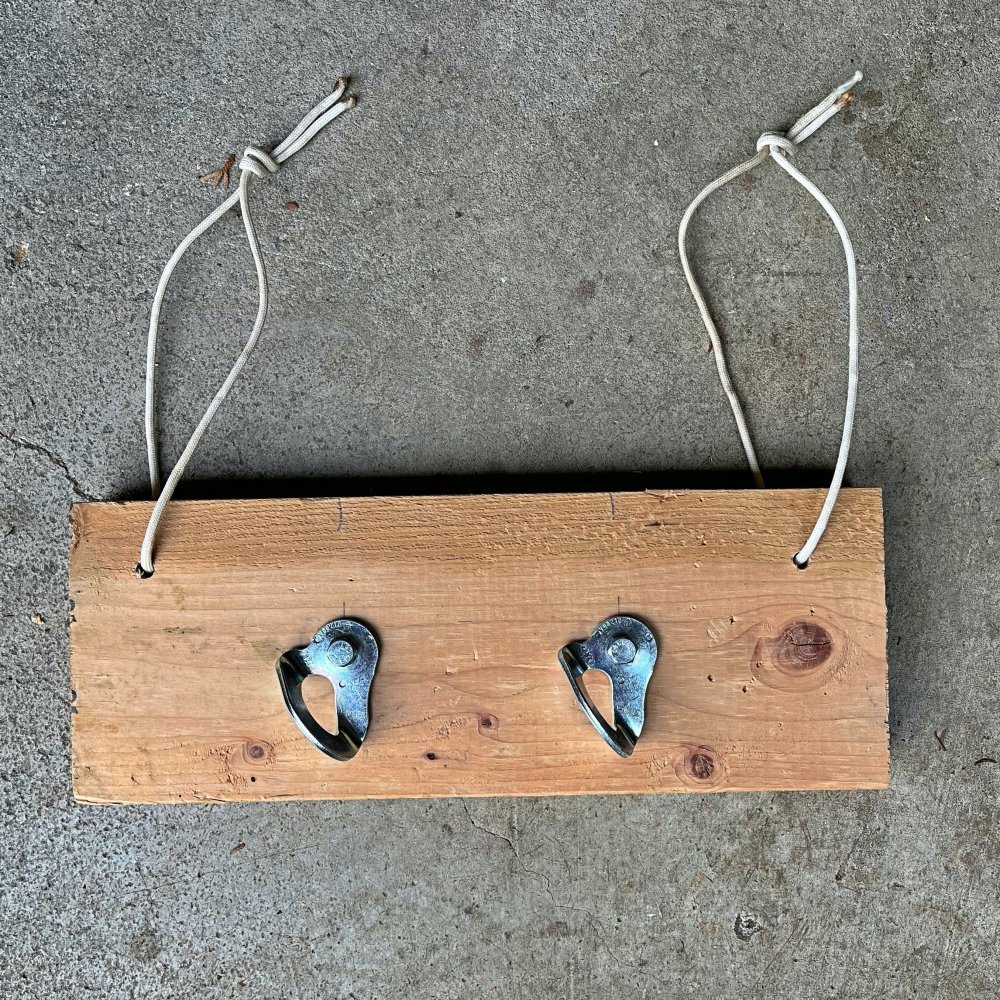
Here’s an easy and inexpensive way to make your own anchor practice board.
about $5 worth of hardware
5 minutes of work
a few basic tools
I’ve seen some commercial versions of these selling for well over $100. If that works for you, then great. This version is for the Frugal Climber. (Take that money you saved and go buy another Totem cam instead. =^)
There are many approaches to building a board like this. I'm showing one that works for me. I've made a few different versions (with T nuts, eye bolts, plywood, etc) and I think this is the winner in terms of simple, inexpensive, and versatile.
The trick with this method is that the bolts/nuts are recessed into the wood on the back, so there’s nothing sticking out. This means you can use it on a car or a door inside your house, and nothing will get scratched by hardware sticking out the back.
Here's what you need:
Notes:
If you want to be SURE nothing you hang the board on (like a car) is going to get scratched, you can glue a piece of scrap fabric on the back, like a towel.
This version is pretty simple, with only two bolts. Feel free to add another bolt and hanger if you like.
While stainless steel hangers are best for outside routes, for your anchor board you can use the less expensive plated hangers, which are made for indoor/rock gym use.
Support your local climb shop and buy your hangers from them if they have ‘em. Or, if you ask nicely at your local rock gym, they might sell you a couple. Try those options first.
You can also order hangers online, a 10 pack is about $25, or $2.50 each. Make 5 boards and give them to your friends. Here’s an option: Fixe Plated Steel 3/8 3.5mm Bolt Hanger - 10 Pack
The bolts and nuts should be at any decent hardware store.
You should be able to get a free piece of 2x6 in the scrap pile at just about any construction site. A 2x4 works too, more on that below. (Be polite and ask before you take anything from a job site.)
I'm using a board that's 15 inches long. That makes it easy to put the bolts 1/3 of the way across, every 5 inches. If your board is a bit longer or shorter, no worries, it'll work fine.
If you don't have these tools, I bet you know someone who does.
When you hang this board on something and put weight on it, it's going to swing out. If you find this annoying, you can drill another hole in about the middle, on the bottom edge, and put some additional cord in here so you can tie down the bottom. I don’t do this on mine, but you might find it helpful.
I’m using ‘Merican dimensions, cause that's where I'm from. (If you're in a country that's sensible enough to use the metric system, which is anywhere other than the United States, Myanmar and Liberia, I'm sure you'll figure it out.)
Materials:
Piece of scrap 2” x 6” board about 15” long
Two bolt hangers
Two hex head bolts, 1.5” long x 1/4”
Two nuts that fit on the bolts
About 4 feet of parachute cord or something similar
Tools:
Saw to cut your board
Drill
Drill bit that’s slightly larger than the bolt, here 5/16”
Spade drill bit that’s slightly larger than the nut, here 5/8”
Socket wrench or pliers to tighten the bolt
Let’s make it!
Along the centerline of the board, and about 1/3 of the way in from the edges, make two marks for the bolts. You can use a tape measure and square if you want to, but eyeballing is fine. (We're not building a piano here. =^)
Make two more tick marks about 1 ½” down and in from the upper corners of the board.
Drill out these four holes with the 5/16” drill bit.
With the larger 5/8” drill bit, drilling from the back of the board, drill down about half an inch.
Be careful here! Do NOT drill all the way through the board!
Insert the bolt and hanger from the front. Thread the nut on in the back.
Tighten the bolt with a socket wrench or pliers. (If the nut is spinning in the hole, pinch it in place with a screwdriver or something similar when you tighten the bolt.)
See how the bolts sit below the surface of the board? No metal sticking out that can scratch anything. =^)
Cut paracord into two sections about 2 feet each. Seal the ends with the flame so it doesn’t unravel. (Do this outside, it’s toxic and stinky.)
Put a strand of cord through each of the top holes and tie ‘em off into a loop.
(If you have a sander and want to smooth it down, or a router and want to round off the edges, go for it to make it Purty.)
Give yourself a high five, you’re done!
You can also use a 2x4 instead of a 2x6. It's a little smaller to store and lighter. But, there's not much room there to add another bolt if you decide you want a three piece anchor, so personally I'm a fan of the 2 x 6. Either one works. Remember, it's for on-the-ground training only, not for real body weight!
Where can you use it?
My favorite: chain link fence
Around a tree. A cam strap works great to tension the board.
On a door; put the paracord knot on one side and the anchor on the other, and close the door. That's why we're using small diameter cord here, you can fit it between a door and the frame more easily than larger cord.
Of course if you get distracted and open the door, the whole thing will fall down, whoops. Ask me how I know this . . .
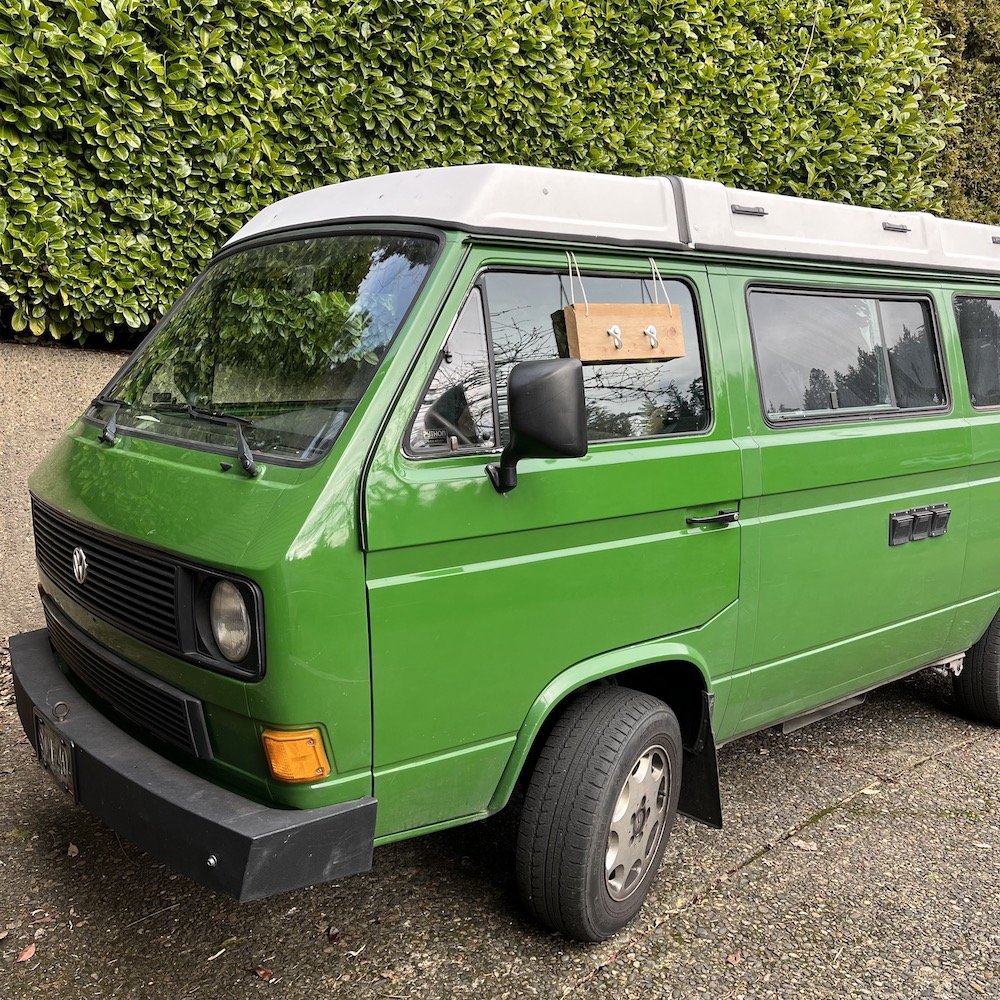
On a car door, or car roof rack.
On a single point. That's where the slightly longer paracord loops are helpful, they both can come together to one point. Using an oval carabiner here helps the board stay level.
Add quick links, chain or rings if you like. Pro tip: buy a length of chain with an odd number of links, such as the five shown here. When you add a quick link to the top, then the bottom link hangs perpendicular to the board, making it slightly easier to thread the rope.
If you buy quick links, cheap ones from the hardware store will work fine, but I recommend getting proper CE rated for climbing, such as those offered by CAMP. That way, when you borrow these off your board some day for actual climbing, you know they are up for the task. 8 mm is a good size; not too big, not too tiny.
You can make a three-piece anchor by simply clipping a carabiner to one of the paracord loops. Or if you like, there's room on the board to add another hanger.


