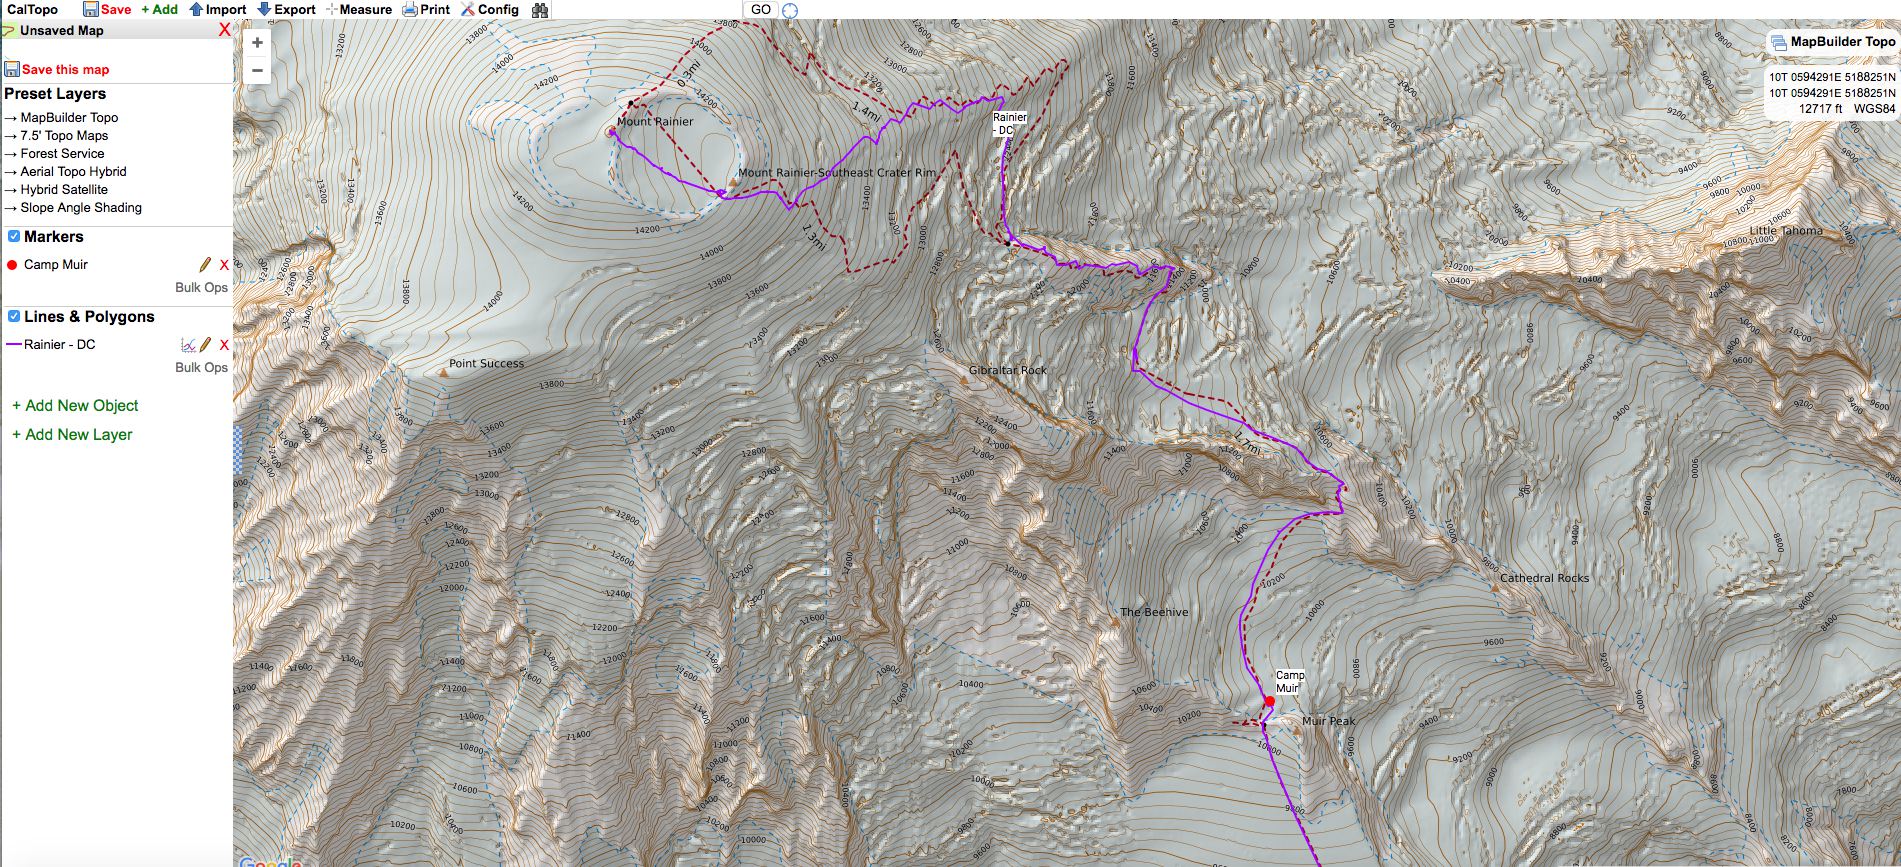
Having a map is great.  Having a map with your route drawn on it is even better.

Below is a link to a shared CalTopo map with a collection of GPX files. If you click this link and launch CalTopo, you'll see a list on the left of waypoints and tracks and for more the 70 of the most popular climbing routes in the Pacific Northwest.

CalTopo is best viewed on a desktop computer.

Clicking on one of the route names on the left should take you to that particular peak and show the route. “Markers” are waypoints, “Shapes” are tracks.

The map layer you should see is MapBuilder Topo. This is a great map layer for most backcountry travel, but if you want to change it to something else, feel free. Mouse over and click the “Base Layer” dropdown menu in the top right corner.


You can also download all of these files onto your computer, so you can transfer them into a smart phone app like a GPS or to a handheld GPS receiver. However, keep in mind, you're going to dump 70 or so files into your track folder, and another 40 or so waypoints, so this may or may not mess up your tidy GPS track housekeeping.  (The one GPX file with all of the routes is only about 3 MB, so don't worry, it won't blow up your phone storage.)

To download ALL of these routes to your own hard drive, from CalTopo click “Export > Download GPX File”.

If you just want to download an individual track or two for your upcoming trip (or print a map with just the Mt. Hood track you need and not every Hood route) do this:

  1. In CalTopo, Click Export > Download GPX File

  2. The default setting in CalTopo is to download everything. To download just the files you want, first click the “Check/Uncheck All” box in the top right corner to deselect everything. (See screen grab below.)

  3. Then, scroll down and check the box(es) for the route or routes that you want to download. Peaks are alphabetical. Select just the files you want, then click the “Export” button in the bottom right corner. This will download a single GPX file containing all of the tracks and/or waypoints you want.

  4. To print, open CalTopo again, and import your new GPX file, which should have only the route you selected.

caltopo unselect.jpg

If you want to make map(s) from these GPX files, watch the video below or keep reading to learn how. Full screen view might be a Good Idea.

To make a PDF map, click the “Print > Print to PDF or JPG” in the top menu.  I suggest a scale of 1:25,000, and check the box next to the UTM grid, so you can get a 1 km UTM grid on your map. If you have a long route that covers multiple sheets of paper, click the green "Add Page" icon on the bottom left corner and make as many pages as you like. Be patient when printing maps, sometimes the software takes a couple of minutes to generate the PDF file.

If you think CalTopo is terrific, I strongly encourage you to support the one guy who is keeping the software going with a $20 annual subscription. Doing this gives you the ability to print on larger sheets of paper, and to save / share maps in the CalTopo cloud, which is extremely handy.  When you consider a single printed large map at an outdoor store can cost between $10 and $15, 20 bucks a year is a terrific deal.