
Cordelettes - General Tips
Many climbers consider the cordelette a standard piece of gear, as it lets you quickly connect two or more points of protection into a redundant, non-extending, and fairly well distributed anchor.
What are some advantages?
Fairly inexpensive (especially compared to a 240 cm Dyneema sling, which some climbers prefer over a standard cordelette)
You can cut it up and leave it for rappel anchors
You can rig it “bunny ears” style, to utilize anchors that are very far apart
Cordelette vary in terms of length and diameter, but a textbook cordelette is “7 and 7”: about 7 meters of 7mm cord, tied into one large loop with a well-dressed knot. Traditionally this was a double fisherman’s, but a more modern method is a simple flat overhand. It can be a little shorter or a little longer, and tied with 6 mm or even 5.5 mm high tech cord, but “7 and 7” is good starting point.
There are a LOT of crafty ways to use a cordelette - bunny ears, the “open” cordelette with no knot at all, overhand knot - but we’ll cover those in detail on other tips. For today, let's look at the textbook rigging, tied in one large loop.
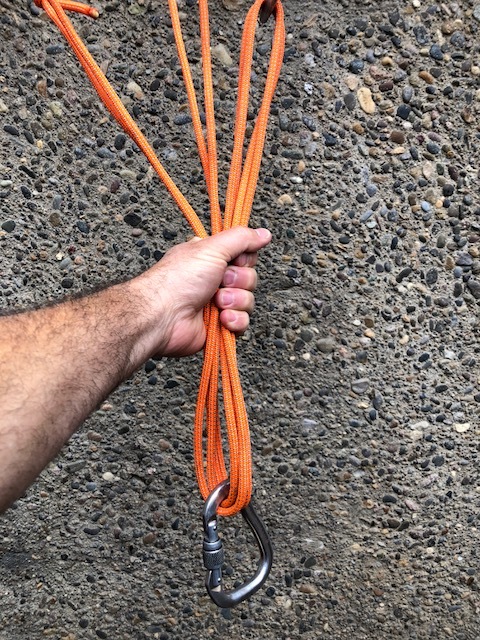
A garden variety cordelette.
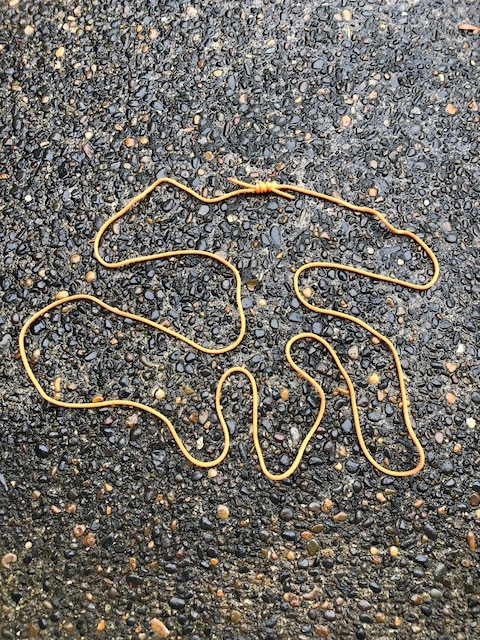
Note the striking resemblance to the Flying Spaghetti Monster. =^)

Here’s a few Crafty Rope Tricks and general cordelette tips that you probably won’t find in the textbook.
1 - The length and diameter can depend on your climbing preferences
Climb on snow a lot? Consider a 6 mm 14-15 foot cordelette. More a rock person? Maybe a 7 mm 20 foot cord is a better choice. Forces are probably lower on snow, and you can put protection wherever you want it. Forces on rock can be higher, and protection might be farther apart. Read more at this tip.
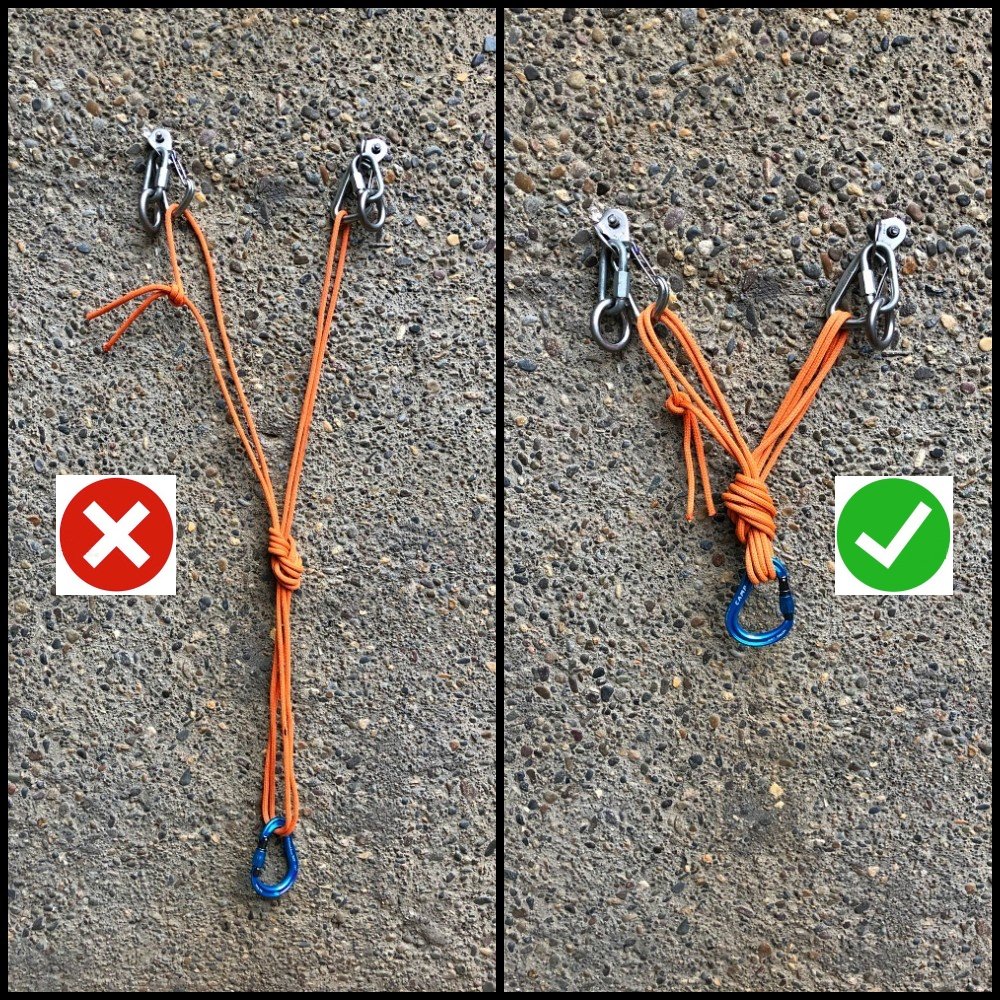
2 - A trick for close placements
If you’re using two gear placements close together, like a bolted sport anchor, your cordelette in normal configuration will probably be too long, resulting in a master point that hangs too low. (A good rule of thumb in anchor building is that the anchor master point should always be at waist level or higher, ideally around your chest.)
Here’s one of several ways to handle the situation: rather than the standard method of clipping the cordelette into the carabiners, instead pass one or even two loops of the cord through the carabiner, and then back to the master point. This doubles the cord in one or more of the legs and raises your master point, resulting in a more compact and easy-to-manage anchor.
Left: Standard method, too long, belay at your ankles. (There's nothing actually unsafe about this, just awkward and inconvenient.)
Right: double the strands through the carabiner, moves the master point nice and high.
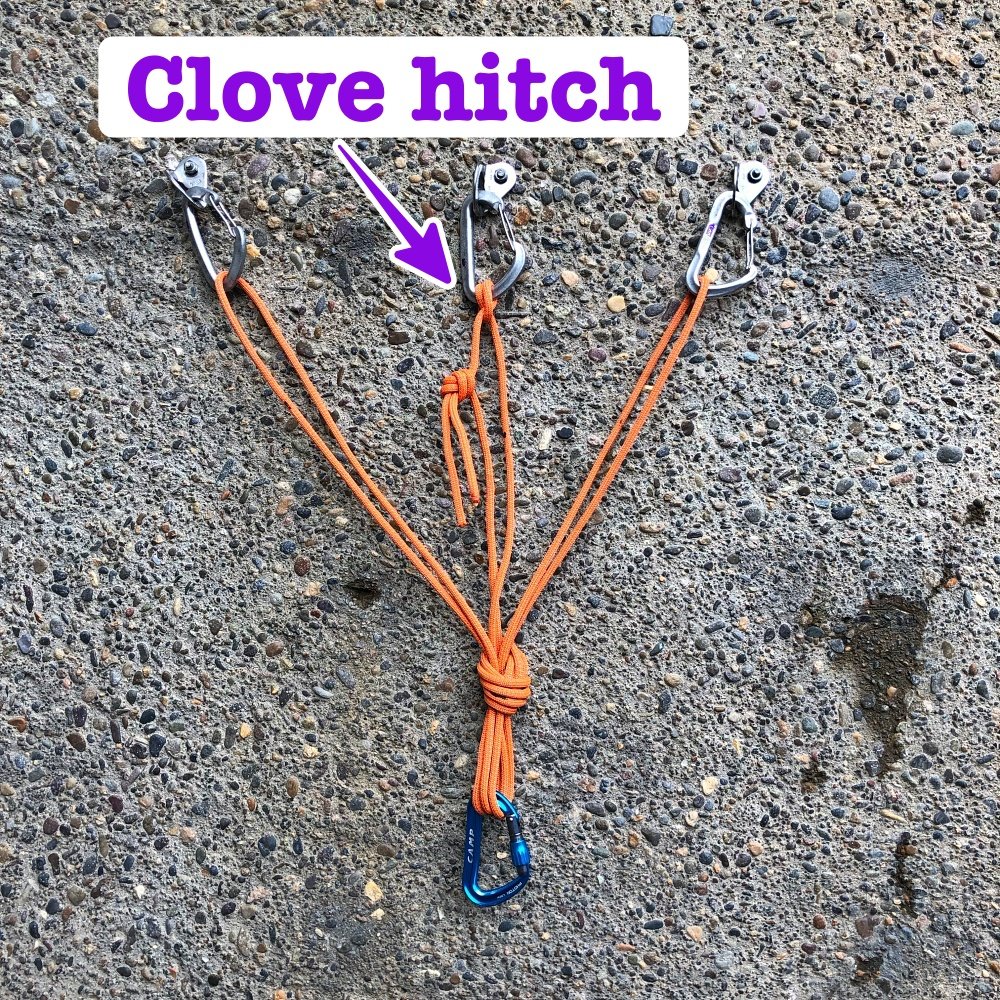
3 - Clove hitch the knot to the highest piece
Murphy’s Law of cordelettes: the darn double fisherman’s knot always ends up in the wrong place! Eliminate this problem by clove hitching the cord next to the knot next to your highest piece of gear. This keeps the joining knot fixed next to the protection and out of the way of your master point.
4 - Shorten it a bit
Most of the time your cordelette is going to feel either too short or too long. If it’s too short, try to add a separate sling to the piece of gear that’s farthest away.
If it’s too long, rather than clipping the cordelette loop to the gear, instead pass the loop through one of the the carabiners. This makes four strands of cord coming off that piece of gear rather then two, which will raise your anchor master point. Remember, you ideally want to master point to be about chest level, and not below your waist if you can avoid it.
Right side strand is passed through the carabiner, not clipped to it.
5 - Try to keep all strands about the same length.
This means that if one piece of gear is much higher than the others, try to add a separate runner to the top piece to bring it more level with the other placements. If you build a cordelette anchor with legs of very different lengths, a majority of force is going to go to the shortest leg, because that’s stretching less than the other two. If you have to do this, try to be sure that the gear you have on that short leg is as solid as possible.
6 - Anticipate the direction of pull and “aim” the cordelette at this point.
When belaying a second, the direction of force will usually be toward the last gear placement you made on lead. Try to equalize the anchor as best as you can by pointing it at this direction.
7 - Tie a figure 8 at the master point if you have enough cord to do it
Many people tie an overhand knot at the master point, but a figure 8 is better, if you have the rope for it. Reason? The figure 8 absorbs more fall force than an overhand, and thus transmits less of that force to the gear. It's also easier to untie.
8 - Clip the belay carabiner into the cord BEFORE you tie the master point knot.
The carabiner gives you a sort of handle and keeps the cord loops tidy when you tie the knot.

9 - For a monolith like a tree or a rock pillar, use both strands on one side for the shelf.
In the photo below, if you clipped the shelf is shown on the left, you have a 50% chance of clipping the same strand twice. Most all the time this is okay, but it's technically not redundant. It's better practice to clip as shown on the right: clipping the carabiner between both strands on ONE side or the left, or the other. This ensures that you are capturing both strands, maintaining redundancy.
Note this is the opposite of what you would do if each side of the cordelette went to a multi-piece anchor, so it might take a minute to get your head around this. =^)
